Tutorial: Setting up Android Devices for Testing Mobile Apps

Powered by askui GmbH. Wants to be freed from being robots.
Setting up Android Devices for Testing Mobile Apps
In this tutorial, we will walk you through how to set up an Android device for developing and testing mobile apps running on Android devices. Depending on the testing environment, i.e. whether it is a real Android device or an emulator, the procedure might slightly differ. But the overall process of the setup will be more or less the same.
If you want to set up the development environment for Android devices without the Android Studio, then go to Set up SDK Command Line Tools without Android Studio
Requirements
- Android Studio installed.
- (optional) Android device, if you want to run your app on a real device
1. Install Android SDK Command-line Tools
If you have the Android Studio installed, you have to verify if you have the Android SDK Command-line Tools and the Android SDK Platform-Tools installed. They both are packages containing several command line tools that are useful for developing apps for Android devices.
To verify the installation of them,
- Click on the
More Actionsbutton, and then - Open the
SDK Manager
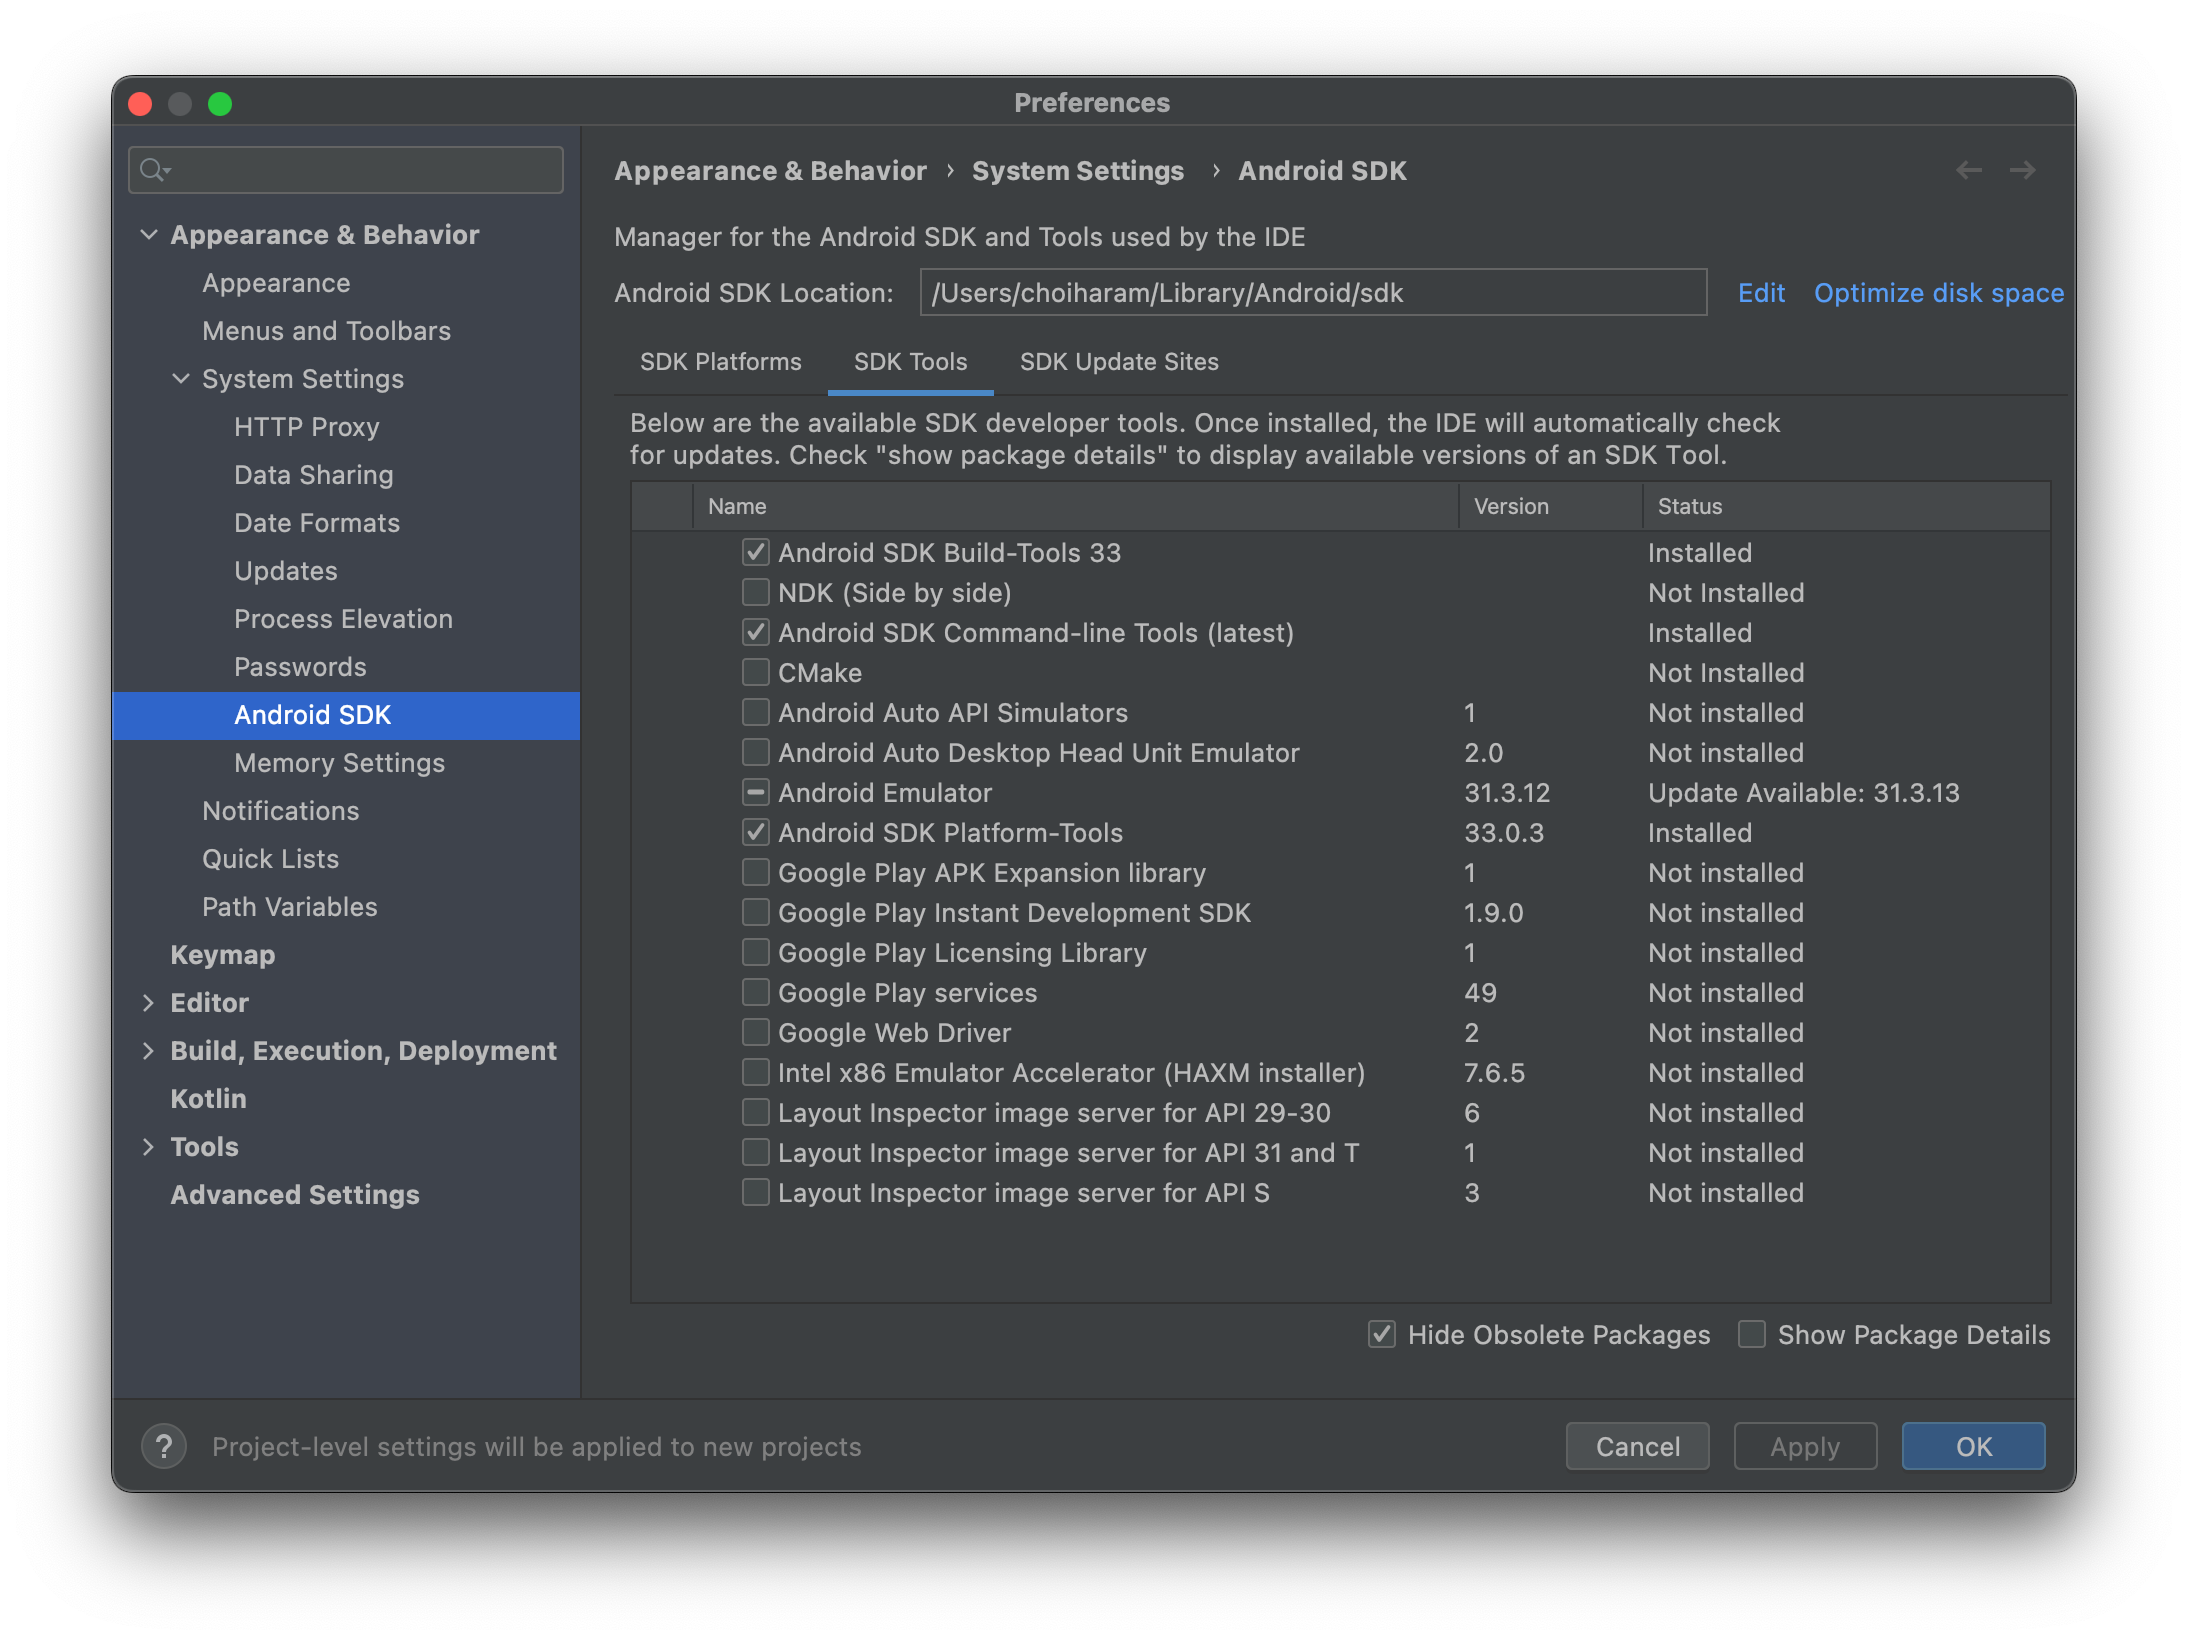
- Then, select
Android SDKfrom the list on the left side of the window. - Go to the
SDK Toolstab, and check theAndroid SDK Command-line Toolsand theAndroid SDK Platform-Tools. After clicking the OK button, it will start to install the tools we have selected.
2. Set up the Test Device
After installing the necessary tools in the Android Studio, we can start to set up the Android device that we want to use for the development.
Set up a Real Android Device
This part is for setting up a real Android device. If you want to use the Android Emulator instead, then you can skip it and go directly to the next step.
To use additional development features in an Android device, we need to enable the Developer Options within the device. To enable the Developer Options, tap the Build Number option 7 times. You can find this option in one of the following locations, depending on your Android version:
- Android 9 (API level 28) and higher:
Settings>About Phone>Build Number - Android 8.0.0 (API level 26) and Android 8.1.0 (API level 26):
Settings>System>About Phone>Build Number - Android 7.1 (API level 25) and lower:
Settings>About Phone>Build Number
After enabling the Developer Options, we can enable the USB debugging option. This option will allow the Android Studio and other SDK tools to recognize your Android device via USB. To enable USB debugging, toggle the USB debugging option in the Developer Options menu. You can find this option in one of the following locations, depending on your Android version:
- Android 9 (API level 28) and higher:
Settings>System>Advanced>Developer Options>USB debugging - Android 8.0.0 (API level 26) and Android 8.1.0 (API level 26):
Settings>System>Developer Options>USB debugging - Android 7.1 (API level 25) and lower:
Settings>Developer Options>USB debugging
Set up an Android Emulator
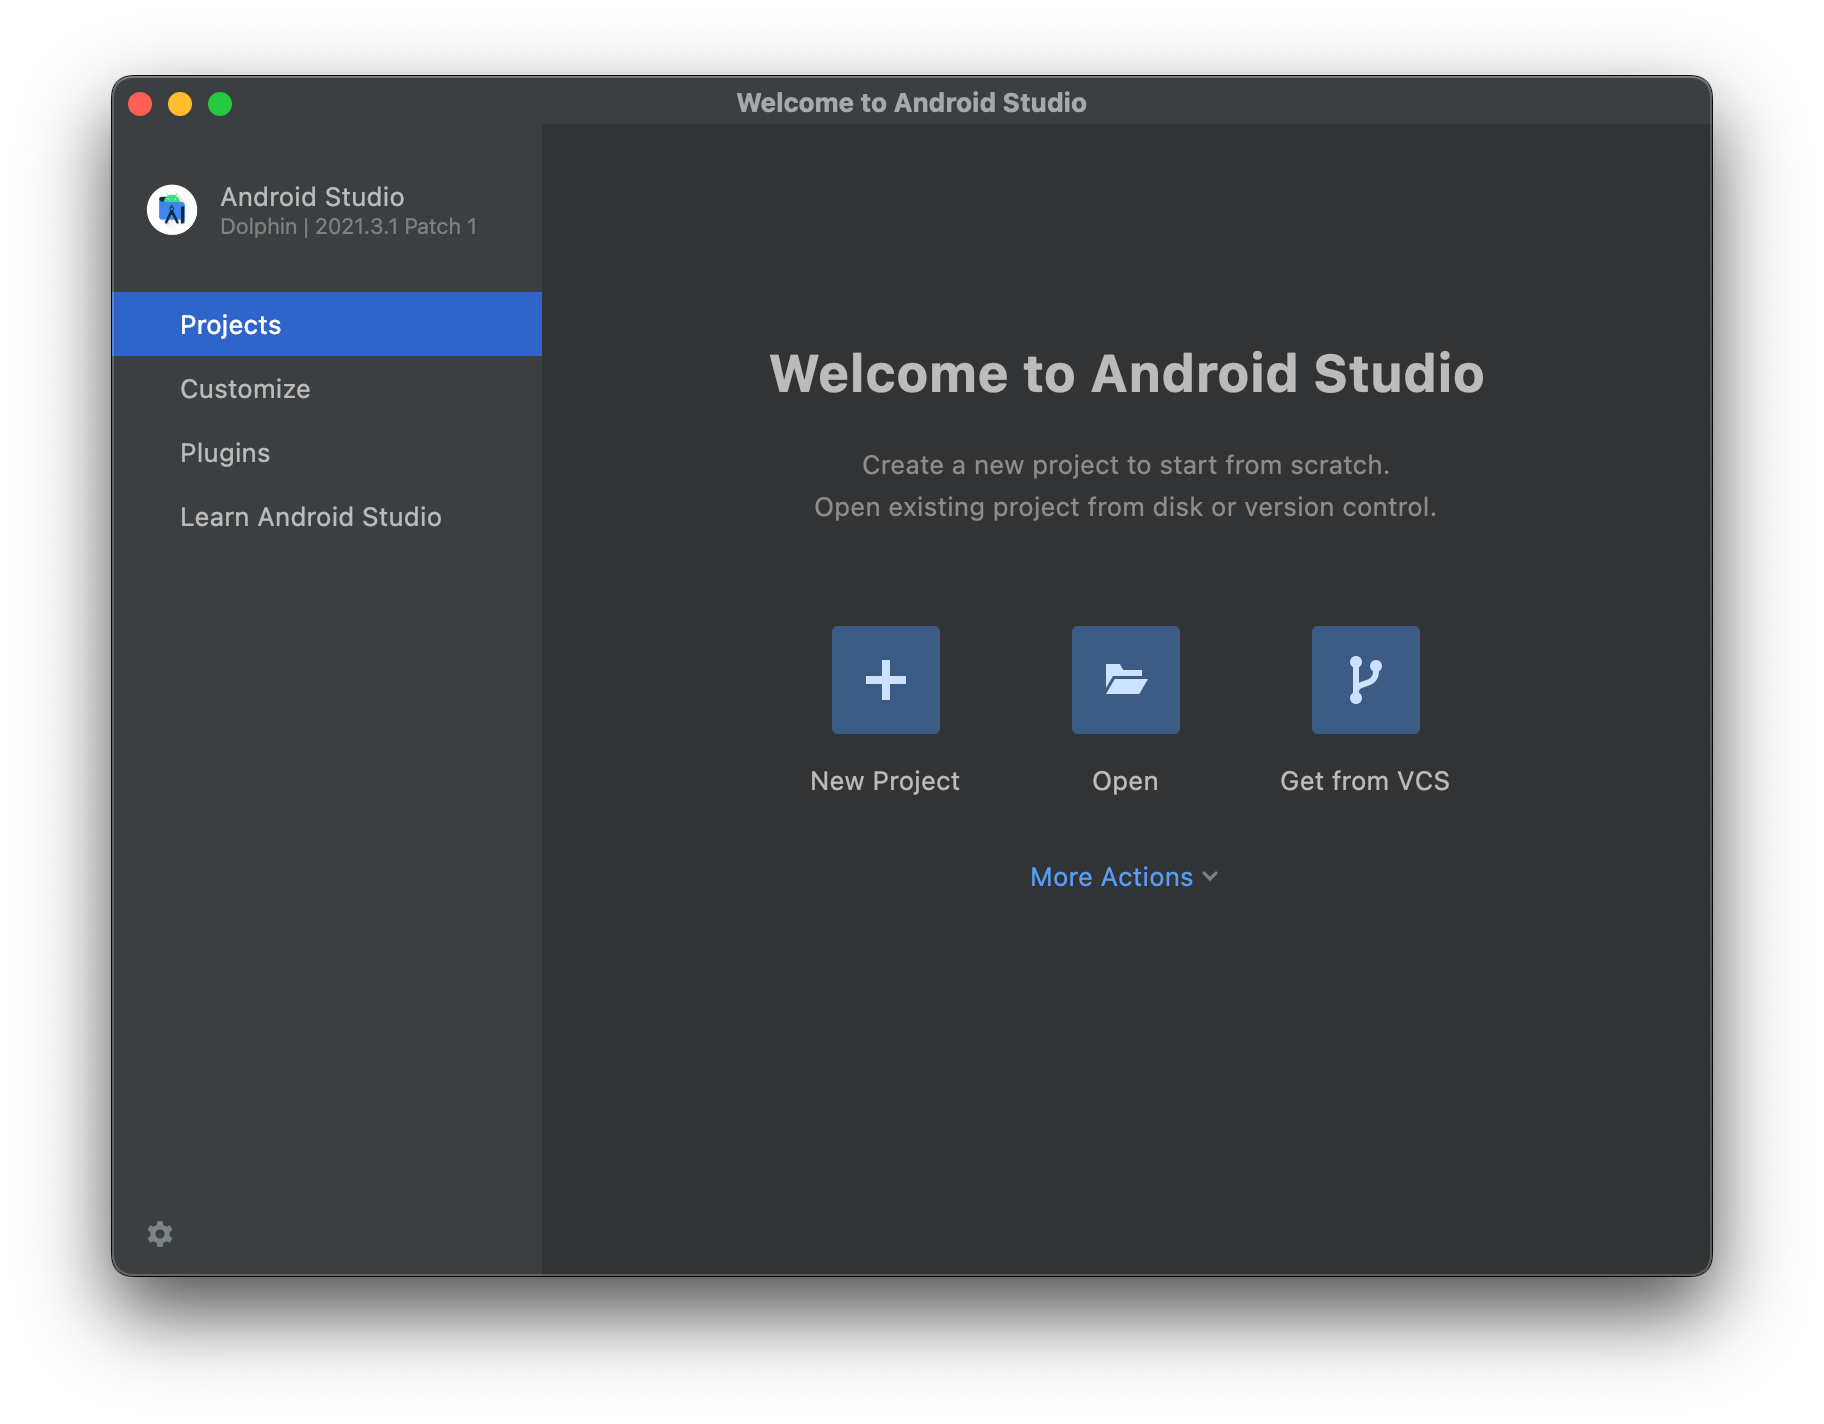
If you want to use the Android Emulator for testing purposes, we have to create a virtual device that runs in the emulator. After running the Android Studio,
- Click on the
More Actionsbutton, and then - Open the
Virtual Device Manager
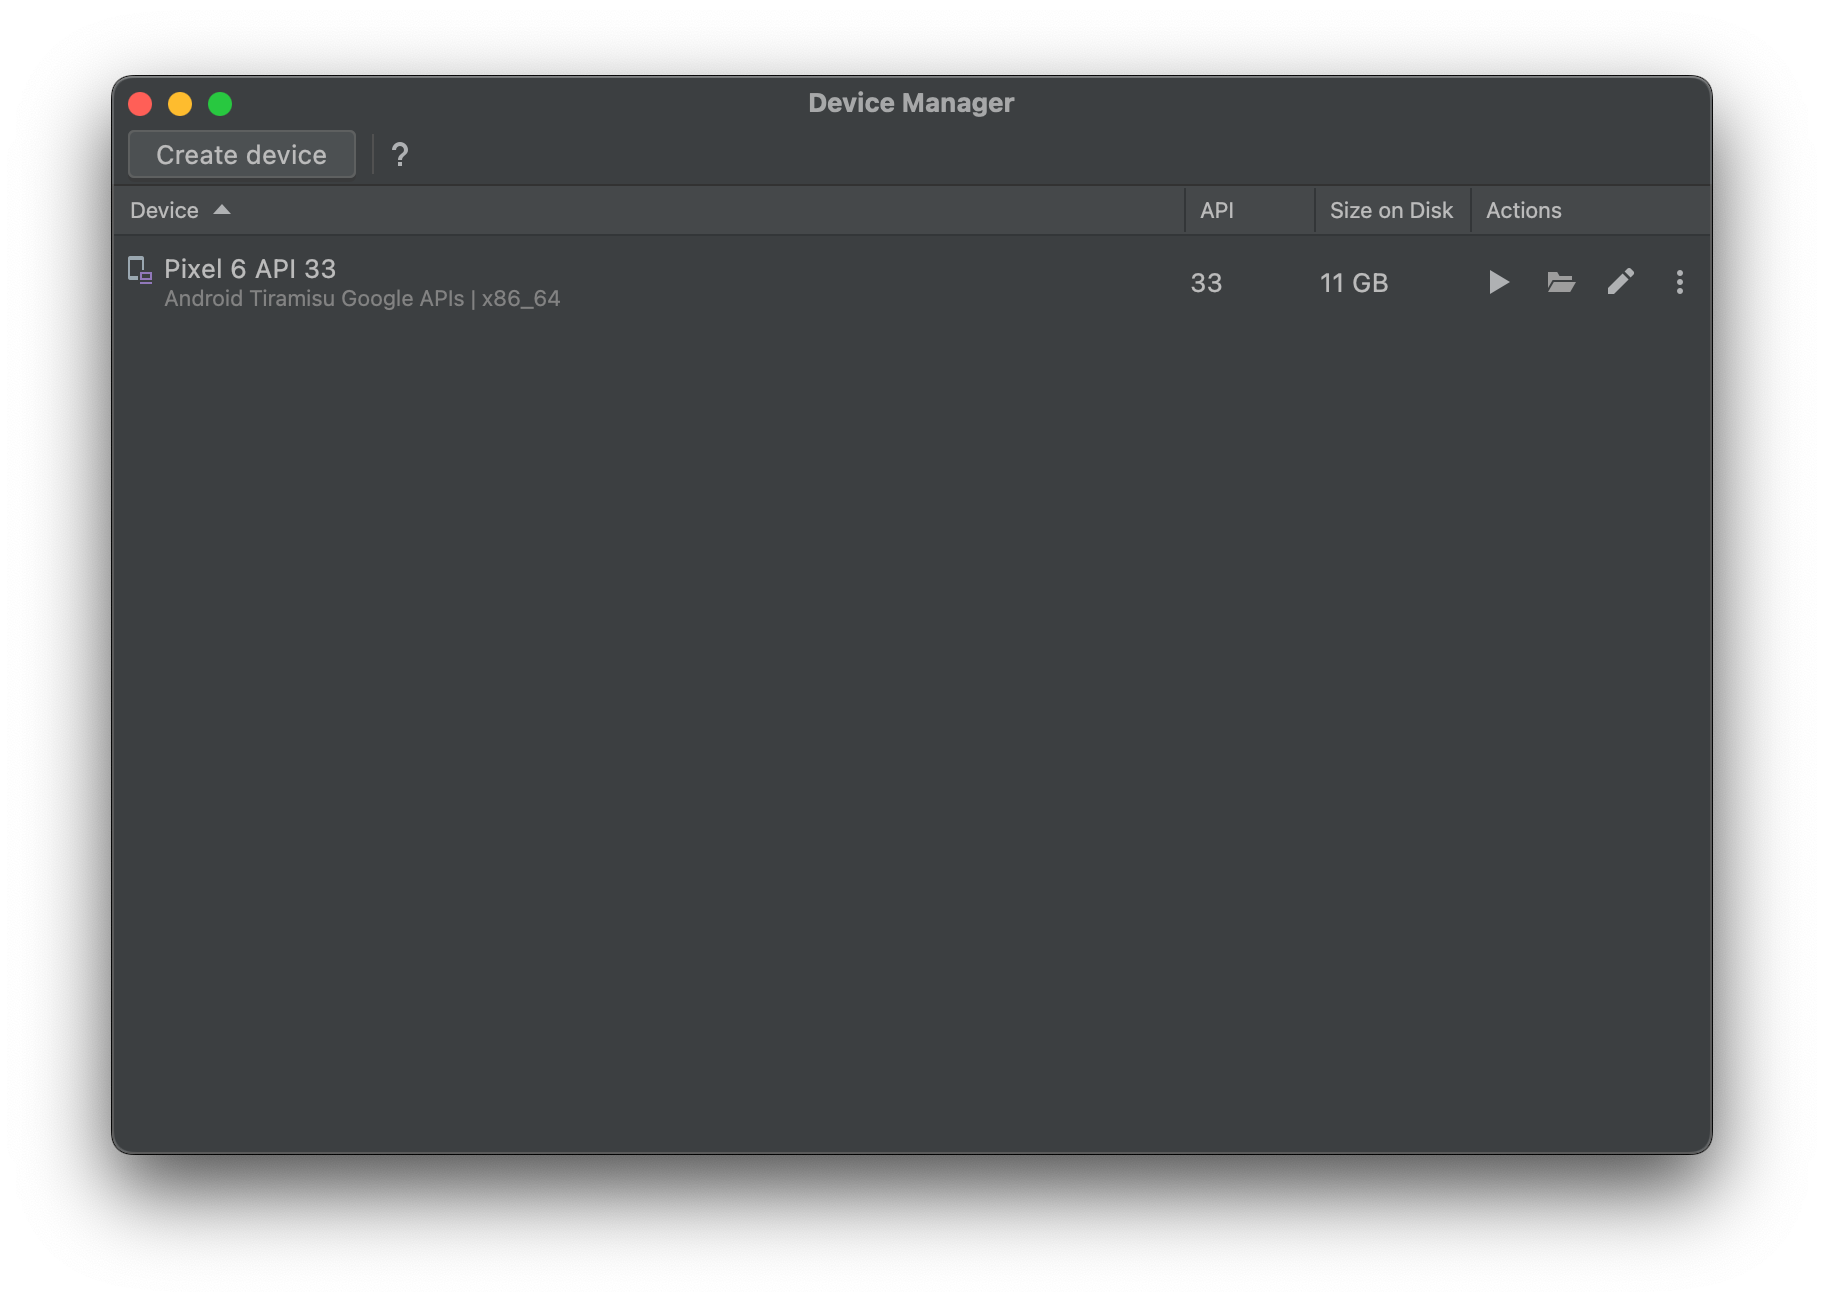
If no virtual device is created, we can create one by clicking the Create device button on the top left corner of the Virtual Device Manager window.
You will now see the Virtual Device Configuration window. Within the configuration window, you will be asked to:
- Choose a hardware profile
- Choose a system image

The hardware profile represents the specification of the hardware that will be used as a virtual device. Various presets of Android devices e.g. Pixel or Nexus are provided. But you can also create your own hardware profile, after which you will be customizing parameters in such:
- Screen size
- Resolution
- Using Hardware buttons (Back, Home, Menu, Volume, etc.)
- Using On-device sensors (Accelerometer, Gyroscope, GPS)
After choosing a hardware profile, we will be choosing a system image for the Android device. Here we can choose out of a variety of Android images, from the latest Android 13 Tiramisu down to the Android 7 Nougat. If you have the Android studio freshly installed and haven't used it yet, then it will start to download the image after selecting one.
After finishing creating a new virtual device, we will be able to see our new device listed in the Device Manager. Click the device's play button(:arrow_forward:) to run it.
Set Up SDK Command Line Tools without Android Studio
Case01: Set Up for the Android Emulator
Download the Android SDK Command-Line Tools
Install the necessary tools:
# create a directory for the cli-tools, and move the .zip file into the directory
mkdir android_sdk
cd android_sdk
mv <PATH_TO_YOUR_DOWNLOADED_ZIP_FILE> .
# unzip the donwloaded file, and put the contents in the new directory 'latest/'
unzip commandlinetools-<YOUR_PLATFORM>-8512546_latest.zip
mkdir cmdline-tools/latest
cd cmdline-tools/latest
mv ../* .
# The hierarchy of the 'android_sdk/':
└- android_sdk/
  ├- cmdline-tools/
     ├- latest/
        ├- bin/
        ├- lib/
        ├- NOTICE.txt
        └- source.properties
# Install platform and build tools
# You can fetch the complete list of available packages via:
bin/sdkmanager --list
# Install the desired package and tools via:
bin/sdkmanager --install "system-images;android-33;google_apis;x86_64"
# The above command will download and install the tools in the sdk_root (android_sdk/)
Download and install the Emulator:
bin/sdkmanager --install "emulator"Create a new avd device:
bin/avdmanager create avd -n mytestdevice -k "system-images;android-33;google_apis;x86_64"Check if the avd device is available:
# go to the 'emulator/' directory, and run the command
cd ../../emulator
./emulator -list-avds
Now you should see your newly created avd device
mytestdeviceRun the emulator:
./emulator -avd mytestdevice
Case02: Set Up for a Real Android Device
Download the SDK Platform-Tools from the official site.
Unzip the .zip file. You can find the adb binary within the extracted directory.
cd platform-tools
# Show every available Android devices
./adb devices
3. Set Up the ADBKeyboard
Until now, we have prepared our Android device and now we are ready to go for testing our Android app. But before we jump into the test phase, we will set up one more utility that will make the test procedure easier.
ADBKeyboard is a virtual keyboard that can be installed on Android devices. It enables us to type within the Android device by using command lines via adb.
One noticeable advantage of using ADBKeyboard is that it can also handle base64 encoding, which becomes handy if you want to type Unicode characters such as emojis 🔥 For more details about this virtual keyboard, see here.
To install the ADBKeyboard on your device,
- Download the ADBKeyboard package from this GitHub Repository (Important: Version 2.0)
- Unzip it.
Find your device:
 # make sure that your Android device is connected.
 # in case of using the emulator, it should be running
 adb devices
Install the ADBKeyboard on the device:
 # inside ADBKeyBoard-2.0/
 adb -s <your device id> install ADBKeyboard.apk
Configure the ADB Keyboard:
adb -s <your device id> shell settings put secure default_input_method com.android.adbkeyboard/.AdbIMEEnable the ADBKeyboard:
adb -s <your device id> shell ime enable com.android.adbkeyboard/.AdbIMETo check if it is enabled: Click on a textfield in an app and see if the
ADB Keyboard {ON}notification is shown at the bottom of the screen.
4. Done
We are finally done with the preparation for testing apps running on Android devices. In the next post, we will cover a simple test automation case utilizing askui on the device we set up in this article.
If you have a recurring or persisting issue while following this tutorial, don’t hesitate to ask the Discord community for help!


